Monday 29 April 2013

Alien Head

This project was very interesting. This is incredible how normal maps can turn so low poly mesh into something detailed. And there are no word to express my feelings about Z-Brush, this software is magical.

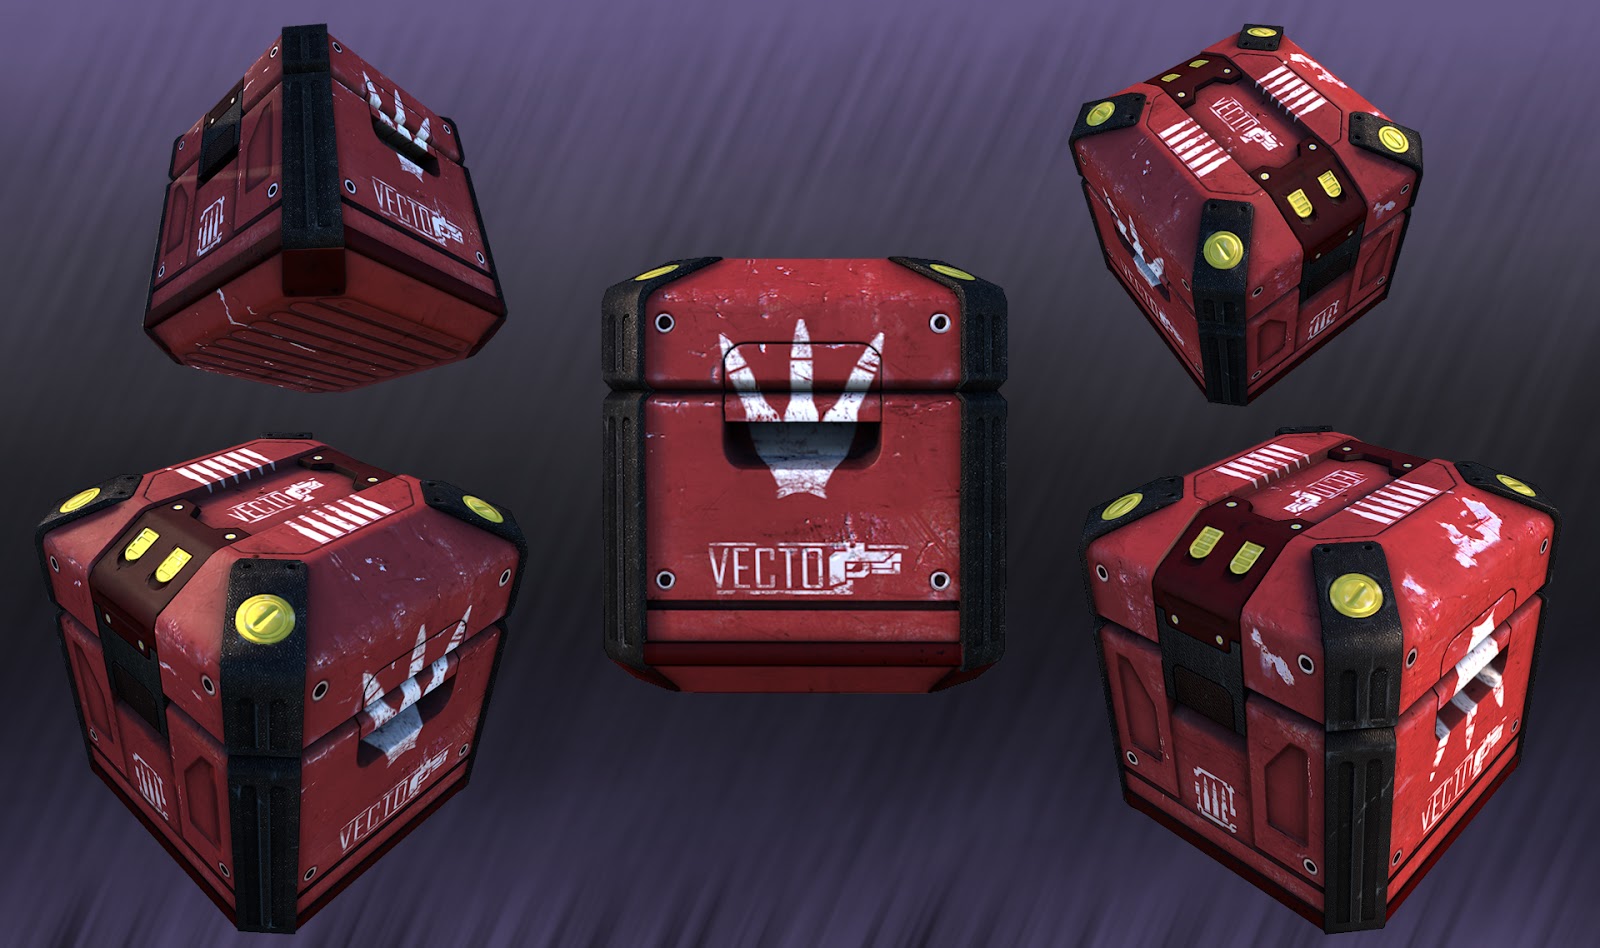
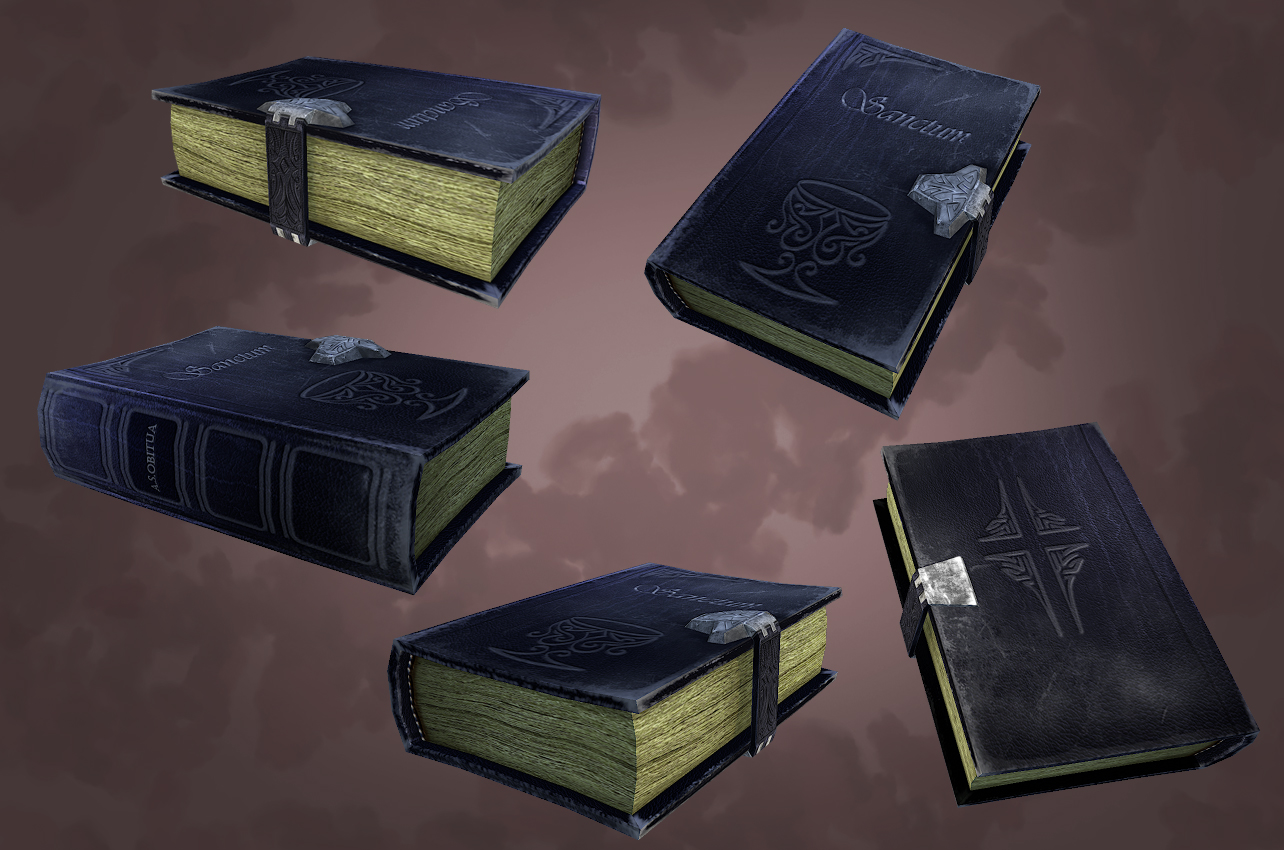
Here are my textures.


I decided to make render of the head in Marmoset because I feel a bit more free in it. A happy accident happened to me when I was rendering. The original eyes are different, I used technique with transparent shells with high specularity on top of the actual eyes, it worked perfectly fine in Maya but I wasn't able to make those shells transparent in Marmoset. In the end they turned black and it actually looked much better because I use sharks as inspiration for this character and some of them have really empty looking dark eyes.


Some details have been lost and some colours changed a bit because of the AO map and difference in shader, so here is my z-tool for comparison.


Cottage


I am not going to post my textures of a cottage here because it's 36 textures in total and I am not that mad yet :) But here is my mental ray render in Maya. It was an interesting and at some point painful experience but it was fun and I learned many new things during texturing it. It was hard to find good wooden texture, I used combination of two with different blending modes, it still looks a bit too noisy to me. It proves one more time that it's extremely important to have own texture library. I am definitely going to do some texture hunting during this summer. But for now, here it is.


Photomanipulations

Desert sky replacement. I struggled with finding the right sky because the scene is front lit and almost all clouds photos I've seen on web are back lit. But still it seems to work because shadows are a bit to the left and dark value concentration in this particular sky photo is on the left too.


I had lots of trouble with brick wall. Don't know why but it was very hard to find any decent old brick texture and even harder to integrate it into the wall from the original photo. Maybe I was trying to perfect it to much because something is going to be not aligned anyway.


Diamond Floor

 Here are my textures for diamond floor. Diffuse-Specular-Normal


 Here is a quick render of it in Marmoset.


Tuesday 19 February 2013

Rock Walls

Here is the tiled brick wall.


Rock wall with slightly pushed and pulled plane.


Here is a mental ray render of both in Maya. I added specular map to the rock wall.

KR8

Here is how I organised my UVs, almost the same as in tutorial.


My diffuse map.


My normal map.


My specular map.


Here is the outcome. I like how it came out.


Tuesday 5 February 2013

SPELLBOOK

Book model. I changed it a bit. Instead of two belts on the sides I made one in the centre and a bit bigger.


Here is my UV layout for it. I wanted to keep pages part together to give it a more solid look.


Here is a finished model. Just a diffuse map in marmoset. 1024x1024 texture.